












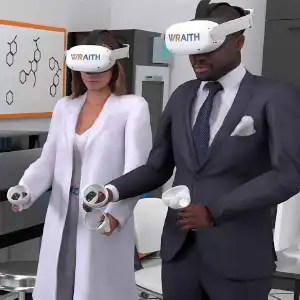


1. Download the Ghost VRSE II Application on Your Quest Compatible VR Headset
Available for free at the Meta Quest app store.


2. Launch Ghost VRSE II in Your Quest Headset
It should be right on your main application right next to the last game you downloaded.

3. Press the button on your virtual wrist to launch the Wraith-VR tablet
There is a button on each of your wrists right where you might find a wristwatch in the real world.

4. Press the Navigation Button on the Tablet
This will bring up a list of surgical simulations that you can launch.

5. Select a Surgery from the List on the Left & Press LAUNCH
Some surgical VR experiences require that you register on our website or be invited by an authorized trainer to access. New VR surgeries are being released all the time so check back often to see what’s new.

6. Press the “ENTER OR” Button
You’ll teleport into the operating room and be slicing and dicing virtual patients left and right.

1. Clear a Play Area
To ensure you don’t trip over anything, be sure to clear a well lit area approximately 6’ x 6’ for moving around in the virtual space.
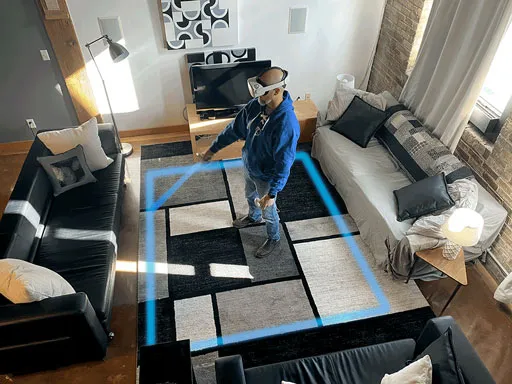
2. Draw Guardian
The first thing the headset will do when you power it up and place it on your head is to draw a guardian grid around your play area. This will help keep you safe by alerting you if should you ever begin to wander out of your safe play area.

3. Power It Up
Press the power button for 3 seconds. It should make a chime and you should see an oval logo in the headset as it boots. Our VR headsets are shipped charged and ready to use and can be run for ~2 hours of continual use before needing to be charged.
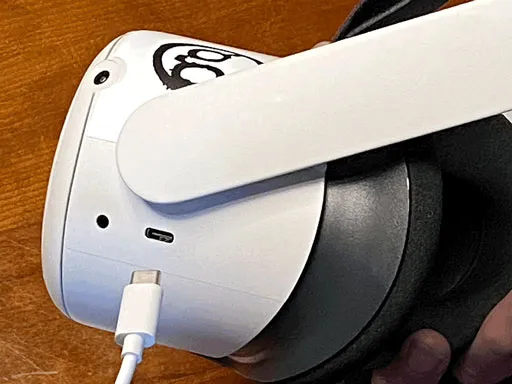
4. Charging
All of our VR headsets can be charged using the provided USB-C power cable.

5. Controller Batteries
Controllers use AA batteries that only need replacement every 50 hours of use. The headset will tell you when they need to be replaced.

6. Enlarge the Head Strap
Extend the headset to its largest size by turning the knob in the back counter-clockwise.

7. Tighten the Strap
Pull the rear strap down and tighten so that the headset is snug but comfortable by turning the knob clockwise.

- If you Wear Glasses
Install the glasses extender to make room for your corrective lenses. The view inside your headset should be crystal clear. If you notice any blurring or double vision, something is wrong and likely one of these methods below will resolve the issue.

8. Adjust the Fit
Try to position the headset up and down, tighten to ensure the lenses are directly in front of your eyes.

9. Clean the Lenses
Be careful to not allow the lenses to come into contact with your forehead when placing it on your head. Use the included microfiber cloth to clean the lenses by wiping in a circular motion until clean. Double-Vision is likely due to having the wrong inter-pupillary distance (IPD) setting. There are 3 different settings to choose. Try moving the lenses inside the headset closer or further apart until the view is perfect. Adjust the IPD.
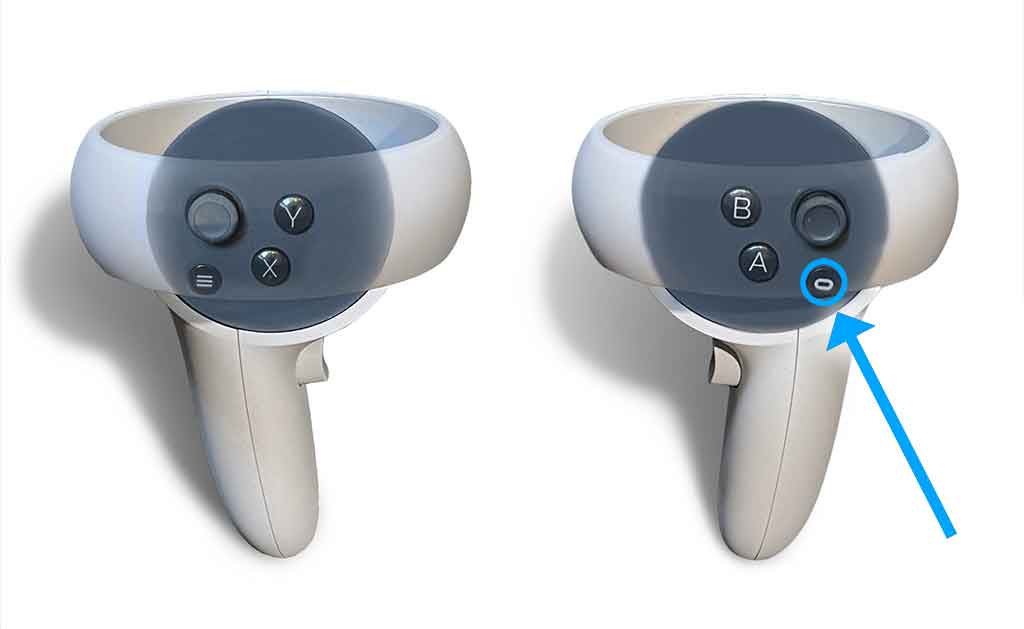
1. Access Main Menu
With the headset turned on, press the Menu Button on the right controller to bring up the Main Menu.
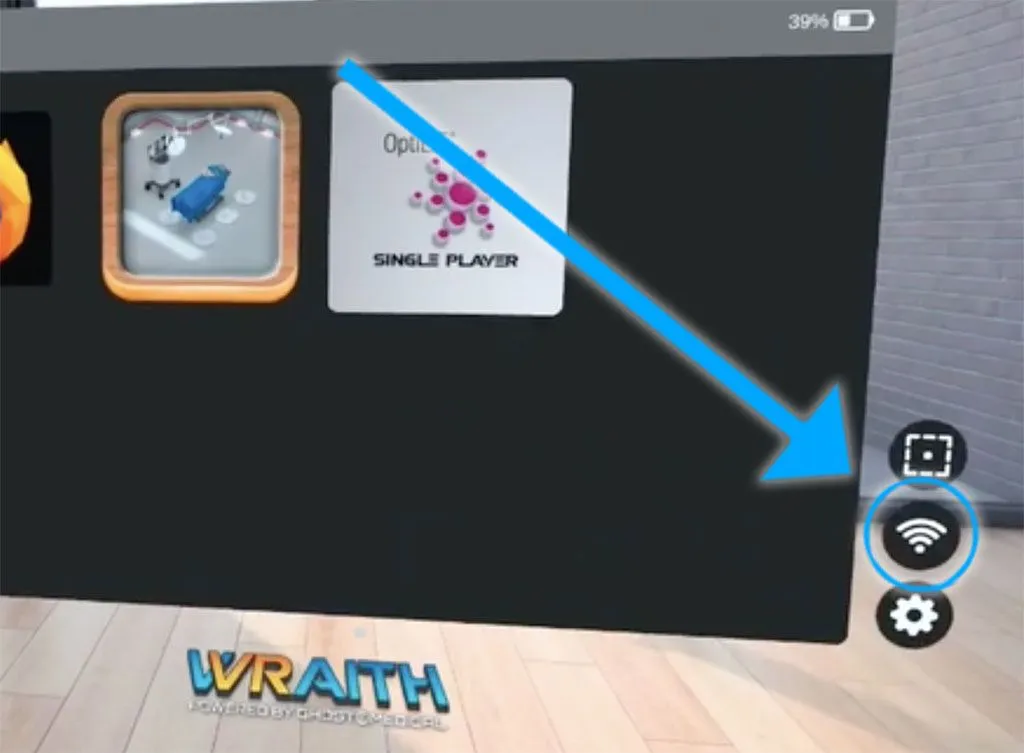
2. Select WiFi Menu
Select the WIFI icon to open the list of available WIFI networks.

3. Login to a Known WiFi Network
Select a network you use and log in using your Username and Password.


